
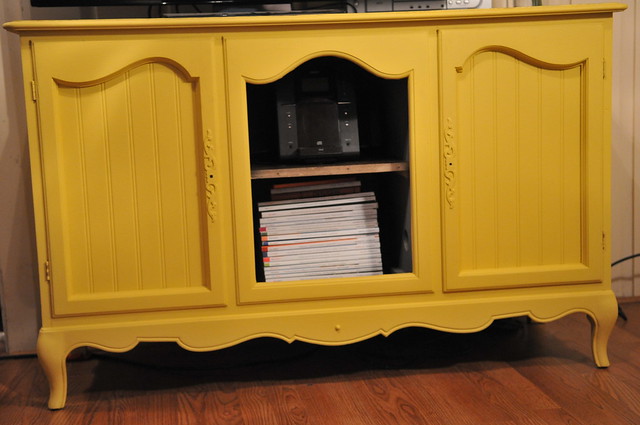
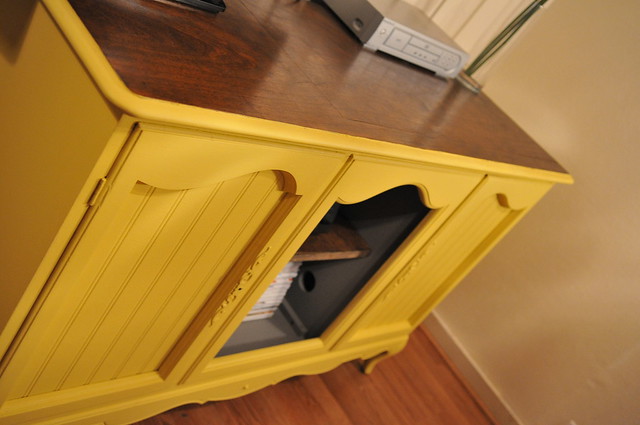
The record cabinet is finally finished except for the door handles.
before:
during:
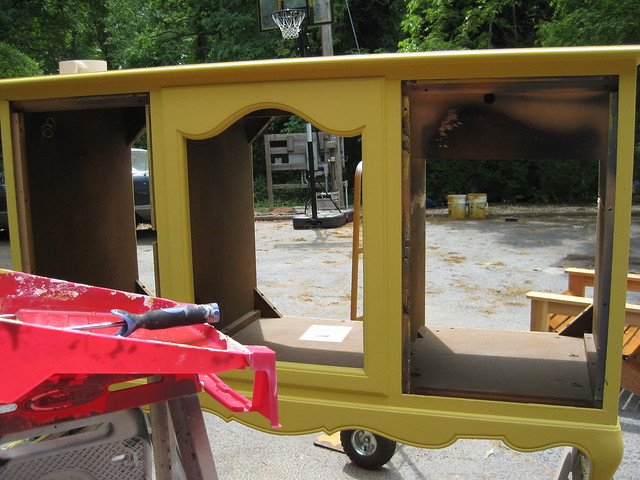
after:
I painted the inside gray just to give myself a break from all the yellow.
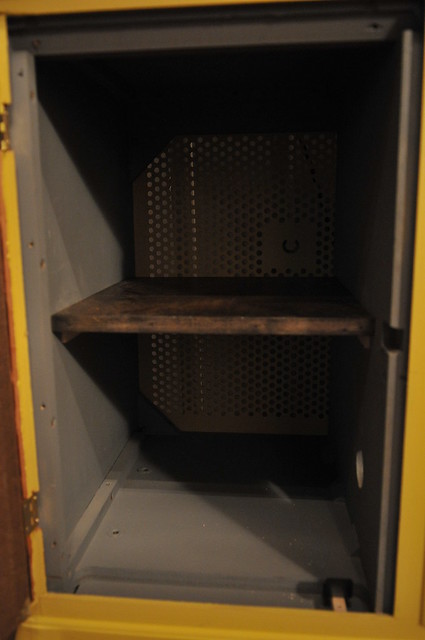
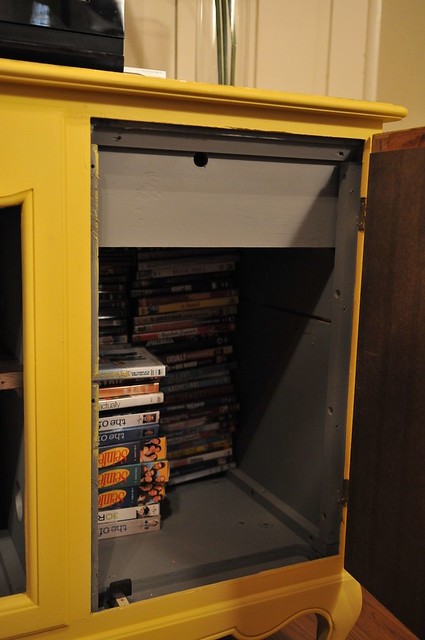
The shelves are stained to match the top.
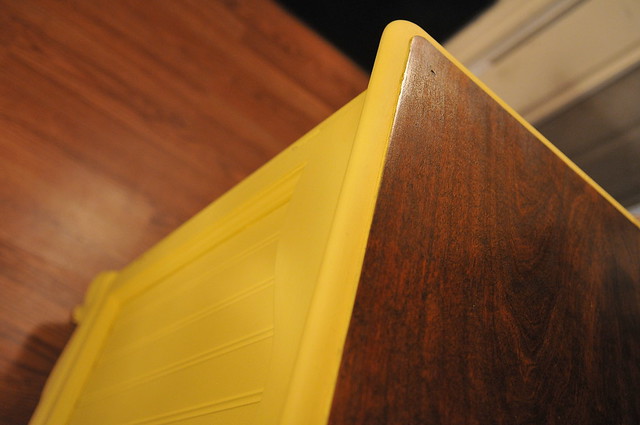
Deciding to stain the top was a last minute decision, and I'm liking it.
The yellow looks really intense in this light, but it's a tad bit softer.
Now for some printmaking! I've been really excited about this project and love how it turned out. About a month ago I went with a friend to the Artisphere festival they have in downtown Greenville. It gave me so many ideas! There were tons of printmaking artists and their work was some of my favorite. I remembered doing some very elementary print making in my high school art class and thought I could try it again having the freedom to create whatever I wanted. This was very time consuming but worth it!
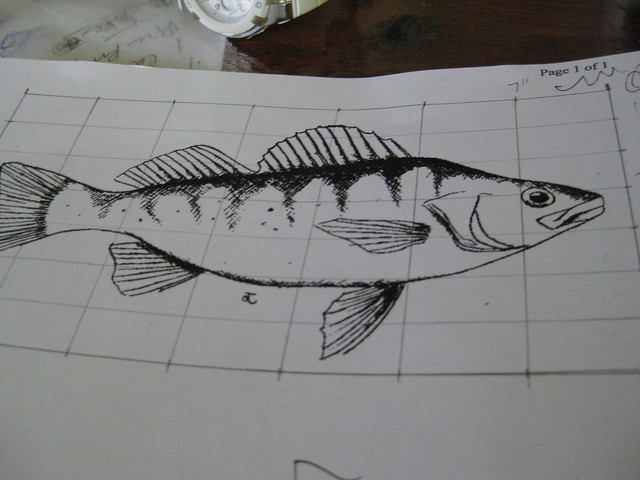
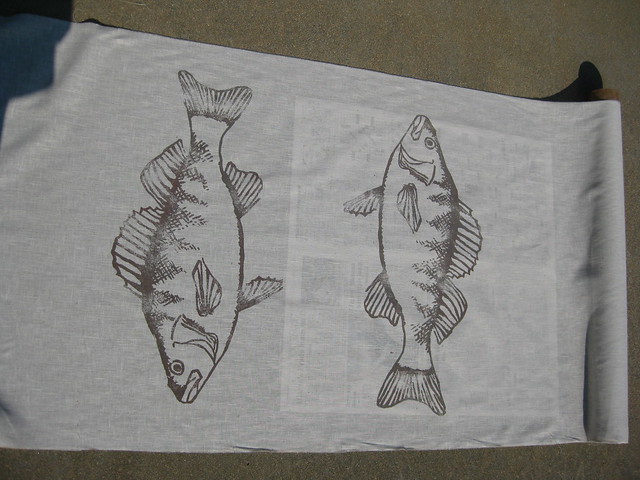
First, decide on what you want to create. I was really into birds, but ended up going with a fish.
I found a black and white one online. From my experience you need to have a straight black and white image so you can know what to cut out or leave.
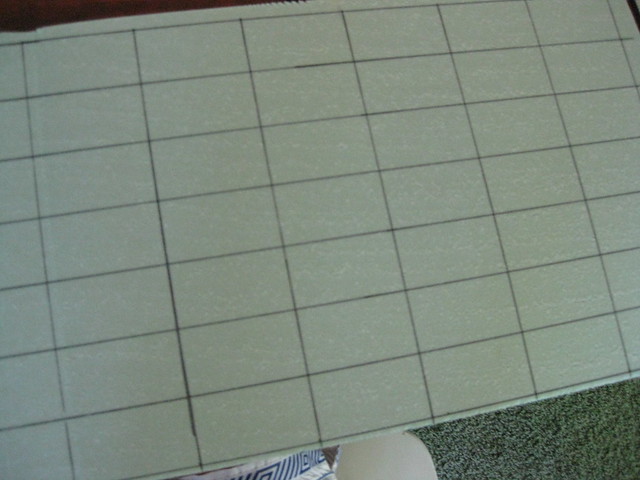
Next I spent $10 on a huge piece of insulation board from Lowe's. I plan on doing more prints so it was definitely worth it.
I cut out a small piece from the entire board. I created a grid on my printout and drew the same grid proportional to the size of my board. For example, there are 7 columns on the printout, so I measure to create 7 equal columns on my board as well. This is to make it easier to draw your image.
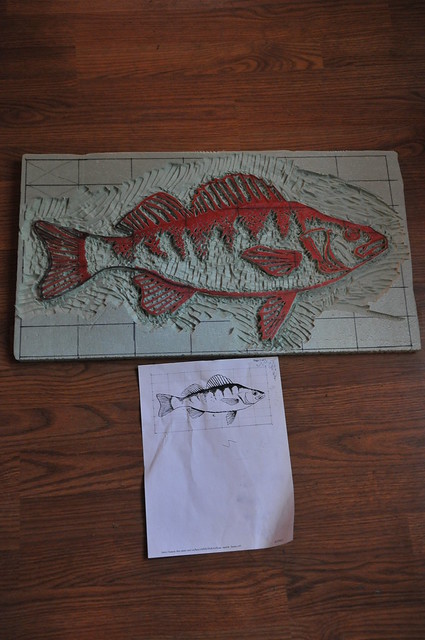
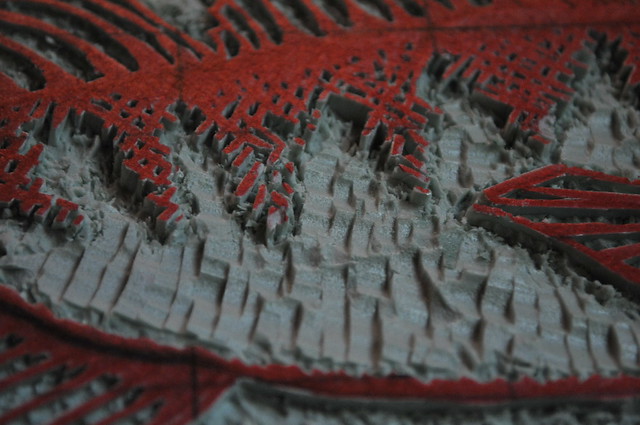
This is after I've cut out everything. I drew everything I wanted to print with a sharpie. I used an exacto knife and cut out everything that wasn't drawn over with sharpie. This could take a long time depending on how intricate your drawing is. You are removing what you don't want paint to go on during the transfer.
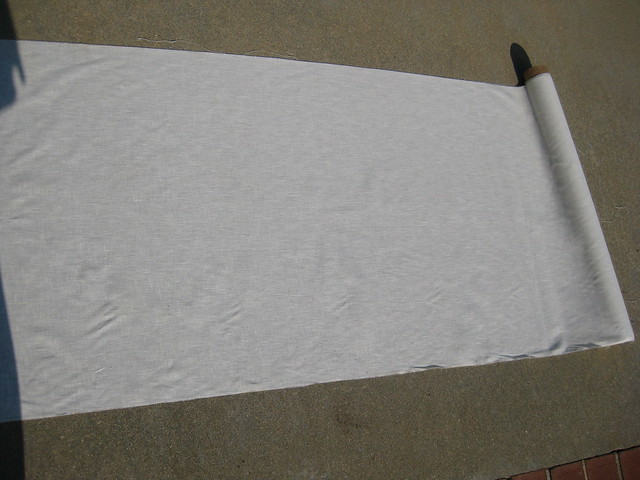
I had some leftover fabric I decided to use for the background.
I bought this rolling sponge at Hobby Lobby. You will want to use something like this to ensure you're getting paint only on the raised surfaces. This sponge worked really well and did not soak up too much paint.
I painted my raised surface (the red sharpie) and transfered it to the fabric and pressed down.
I had an extra pallet that was cut up to make frames with. I used some white paint and water to give the wood a white wash look. I just painted with watered down white paint and used a rag to wipe the wood until I got the color I desired.
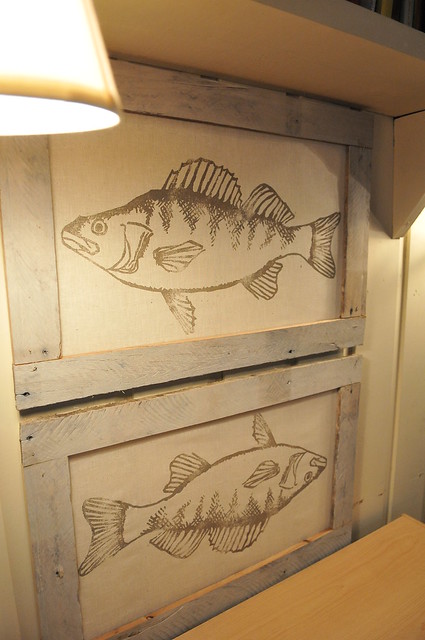
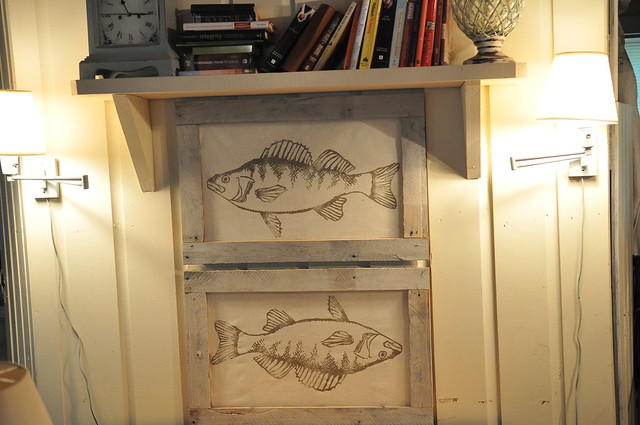
I intended on hanging them vertically with one fish looking up and the other down, but they didn't fit under the shelf. In our next house I'll switch them because I don't love the upside down one, but it will do for now.
Looks very good--even upside down!
ReplyDeleteWell done - great use of alternative materials!
ReplyDelete